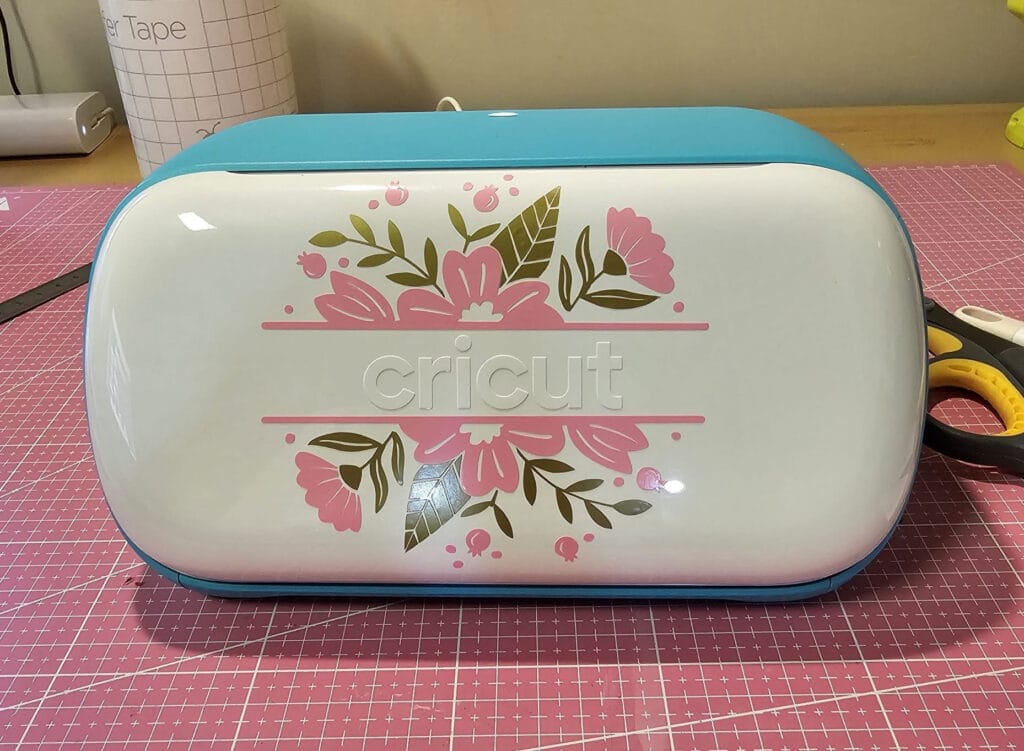
BLOG
Cricut Joy Reviews: Best Projects, Accessories & Setup Guide for Beginners
Are you looking for a compact yet powerful crafting machine that can elevate your DIY projects? If so, the Cricut Joy might be the perfect fit for you. This versatile cutting machine has become a favorite among crafters of all levels, thanks to its portability, user-friendly interface, and impressive capabilities. Whether you’re a seasoned pro or just starting your crafting journey, the Cricut Joy offers the perfect blend of simplicity and versatility. Join me as we explore the ins and outs of the Cricut Joy, from setup to standout projects.
What is the Cricut Joy?
The Cricut Joy is a small but mighty cutting machine designed for crafting on the go. I remember the first time I used it—I was pleasantly surprised by its ability to cut more than 50 materials, including paper, vinyl, iron-on, and cardstock. Its compact size makes it ideal for those of us who might not have a dedicated crafting space or want to bring our projects to a friend’s house.
Imagine crafting a beautiful card for a friend or creating custom decals for your laptop—all in a matter of minutes! The Cricut Joy makes this possible with its lightweight design and intuitive interface, allowing you to create quick, stunning projects without needing a large machine.
Getting Started: Cricut Joy Setup Instructions
Setting up your Cricut Joy is a breeze! I can assure you that within minutes, you’ll be ready to embark on your crafting adventure. Let me walk you through the process step by step.
Unboxing Your Cricut Joy
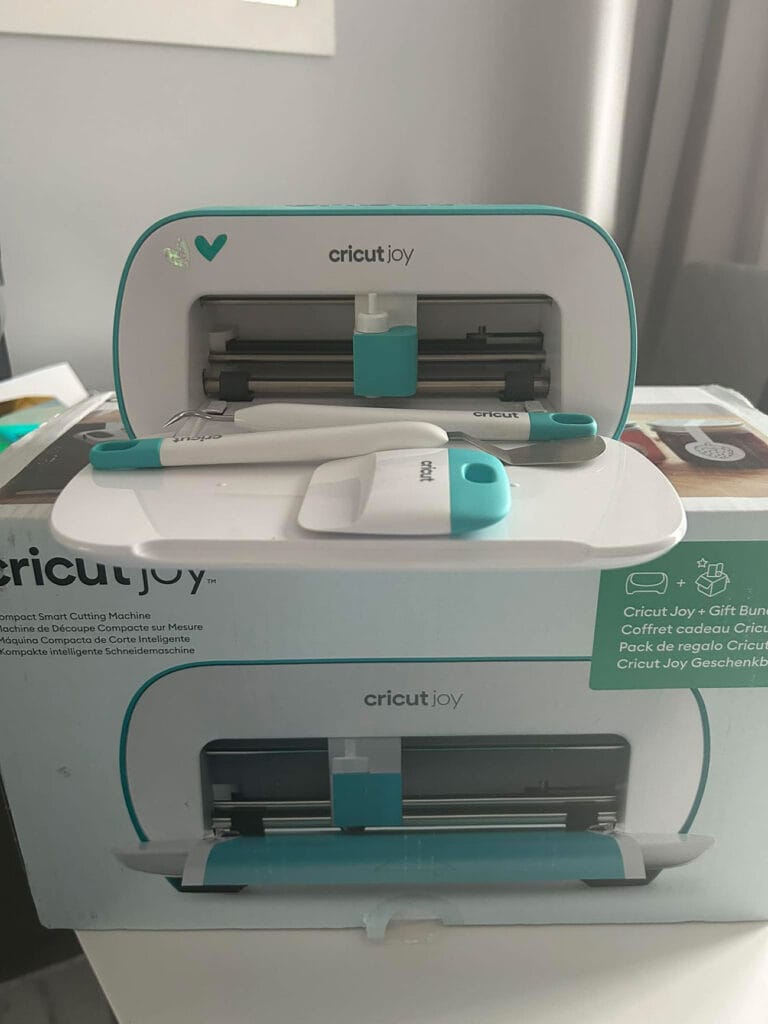
First, let’s unbox your Cricut Joy and see what treasures await you inside:
- Cricut Joy Machine: Your new cutting companion.
- Power Adapter and Cable: Essential for powering your machine.
- Cricut Joy Blade and Housing: Pre-installed for your convenience.
- StandardGrip Mat (4.5″ x 6.5″): Perfect for a variety of materials.
- Sample Materials: A starter kit for your first project.
- Quick Start Guide: Your roadmap to getting started.
Step-by-Step Setup Guide
- Plug in Your Cricut Joy Begin by connecting the power adapter to your Cricut Joy and plugging it into an outlet. The machine should power on automatically. If it doesn’t, don’t worry—just press the power button!
- Download the Cricut Design Space App The Cricut Design Space app is your gateway to creating and sending designs to your Cricut Joy. Download and install it on your device—whether that’s a computer, tablet, or smartphone. It’s available for iOS, Android, Windows, and Mac.
- Create a Cricut Account If you’re new to Cricut, you’ll need to create an account. Open the Design Space app and follow the prompts. If you already have an account, simply log in.
- Connect Your Cricut Joy Now it’s time to connect your machine. You can do this via Bluetooth or USB:
- Bluetooth: Ensure Bluetooth is enabled on your device. In Design Space, go to settings and select “Pair New Device.” Follow the on-screen instructions.
- USB: Prefer a wired connection? Just plug the USB cable from your Cricut Joy into your computer.
- Update Firmware (If Necessary) When you first connect your machine, Design Space may prompt you to update your Cricut Joy’s firmware. Follow the instructions to ensure your machine is up-to-date with the latest features.
- Perform a Test Cut With everything set up, it’s time to perform a test cut using the sample materials. Here’s how:
- Open Design Space and create a new project.
- Select a simple design from the ready-to-make projects or create your own.
- Place the sample material on the StandardGrip mat and load it into your Cricut Joy.
- Follow the prompts in Design Space to send your design to the machine.
- Once the cut is complete, unload the mat and admire your work!
Tips for a Smooth Setup
- Ensure Stable Internet Connection: A reliable connection is vital for syncing designs and downloading updates.
- Use Recommended Materials: Stick with Cricut-approved materials for optimal results, especially when starting.
- Join the Cricut Community: Engage with fellow crafters through forums and social media. You’ll find inspiration, tips, and camaraderie that can make your crafting journey even more enjoyable.
Cricut Joy Pros and Cons
While the Cricut Joy has much to offer, it’s essential to consider its strengths and limitations to determine if it’s the right fit for you.
Pros of the Cricut Joy
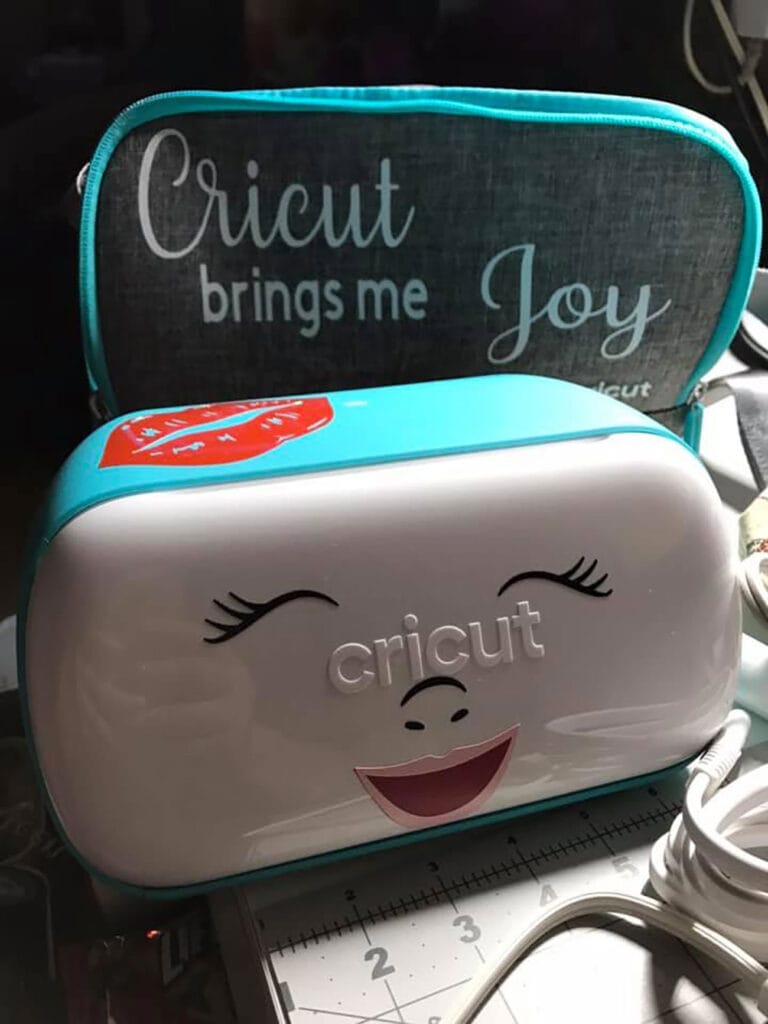
- Compact and Portable: At just 14 inches long, it’s perfect for crafting on the go. I often take mine to craft nights with friends or when traveling.
- User-Friendly Design: The setup is straightforward, making it accessible for beginners. I vividly remember helping a friend who had never crafted before set it up; within an hour, she was making her own custom stickers!
- Versatility in Materials: It handles various materials—vinyl, cardstock, iron-on—allowing for endless project possibilities. Whether you’re making personalized gifts or home decor, the Cricut Joy has got you covered.
- Matless Cutting Capability: Thanks to Smart Materials, you can cut without a mat, streamlining the process and reducing supplies.
- Precision and Quality: The Joy delivers clean, precise cuts. I often use it for intricate designs, and the results never disappoint.
Cons of the Cricut Joy
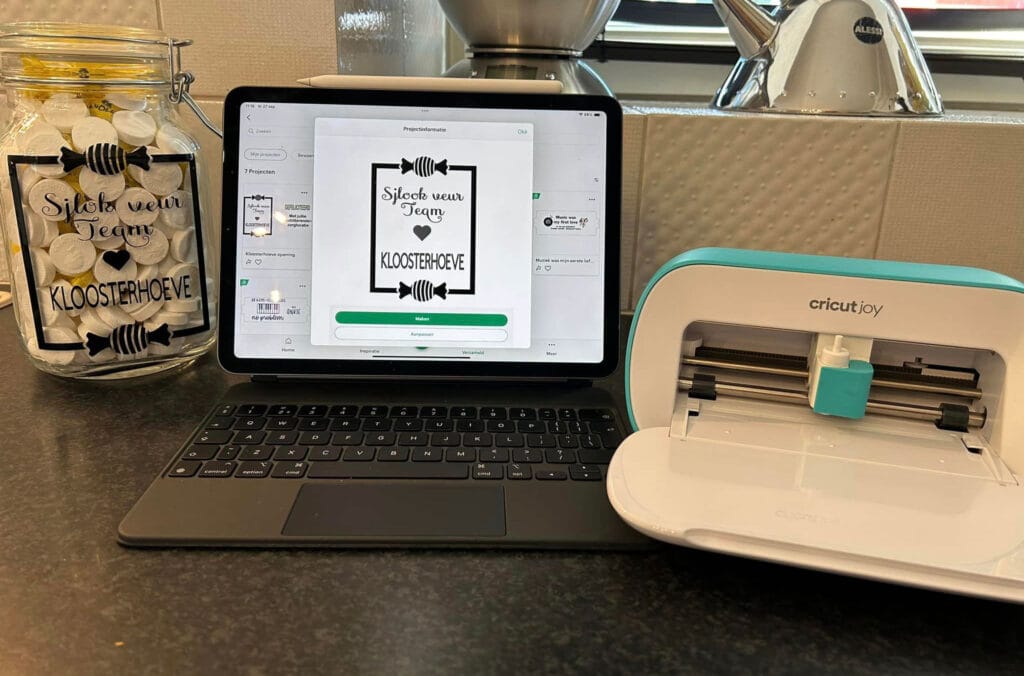
- Limited Cutting Width: The cutting width of 4.5 inches can be limiting for larger projects. When I made a banner for a party, I had to piece together smaller sections, which took extra time.
- No Writing or Drawing with Pens: Unlike other Cricut models, it doesn’t support pen usage, which can restrict creative possibilities for cards and intricate designs.
- Smart Materials Requirement: To utilize the matless cutting feature fully, you’ll need to purchase Cricut’s Smart Materials, which can be pricier than traditional options.
- Basic Features Compared to Larger Models: The Joy is designed for simplicity, lacking some advanced features of its bigger counterparts, such as higher cutting force or additional connectivity options.
Cricut Joy Best Projects
The Cricut Joy is a versatile cutting machine, ideal for various projects. Whether you’re a beginner or a seasoned crafter, here are some of the best projects to inspire your creativity.
Custom Vinyl Decals
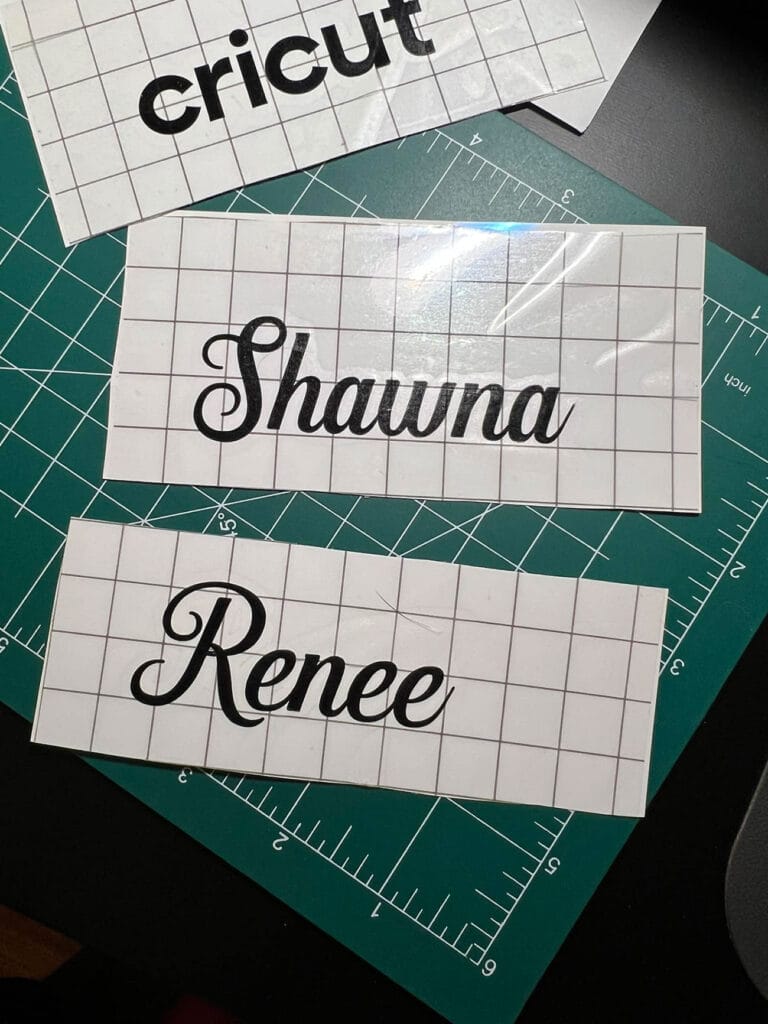
Creating custom vinyl decals is a favorite project among Cricut Joy users, including me! You can personalize everything from water bottles to laptops with intricate designs.
Steps to Create Custom Vinyl Decals:
- Choose Your Design: Use Cricut Design Space to find or create your perfect design. Think about what you’d like to personalize.
- Cut the Vinyl: Load Smart Vinyl into the Cricut Joy and let it do the work.
- Weed the Vinyl: Carefully remove excess vinyl around your design. This step can be therapeutic—almost like peeling stickers!
- Apply Transfer Tape: Use transfer tape to lift your vinyl decal and place it on your chosen surface.
Personalized Greeting Cards
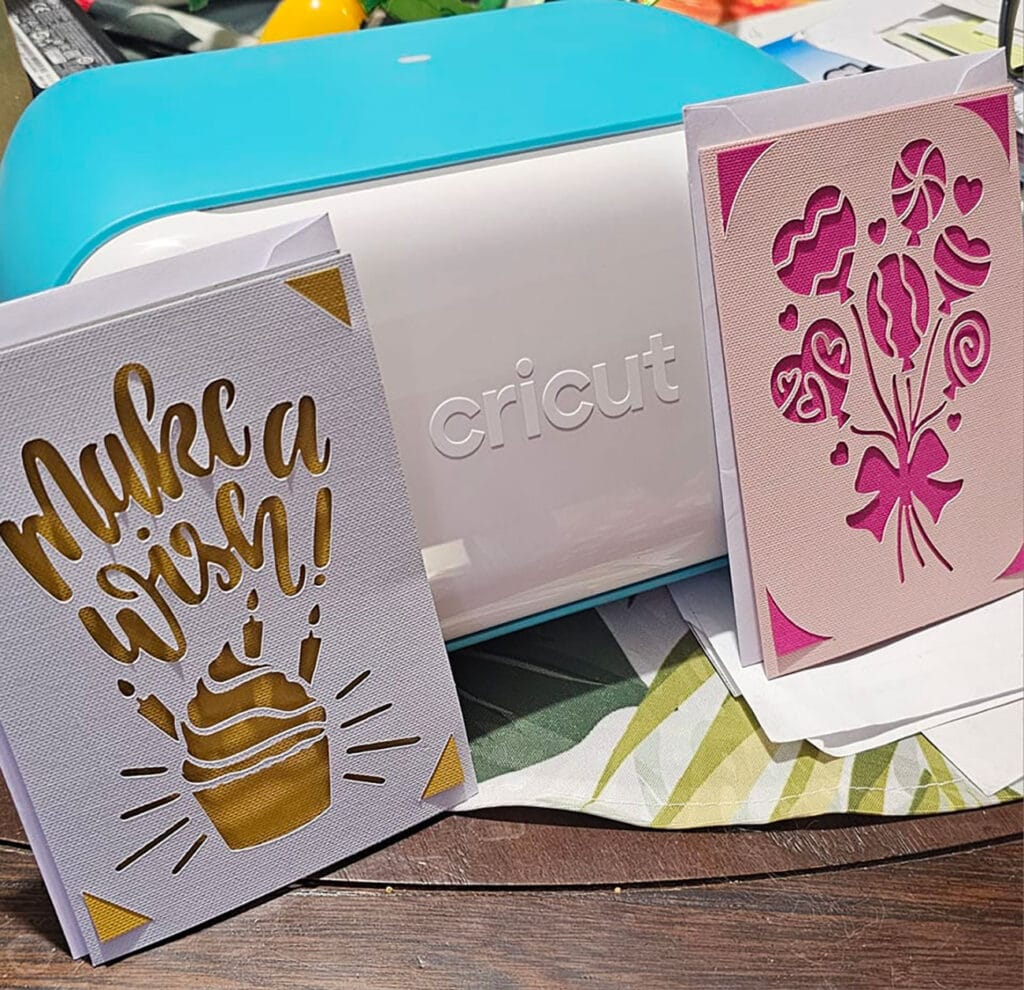
With the Card Mat and Insert Cards, making personalized greeting cards has never been easier. I often create cards for birthdays and holidays—it’s a heartfelt touch that friends appreciate.
Steps to Create Personalized Greeting Cards:
- Select a Card Design: Choose a design from Cricut Design Space that resonates with you.
- Prepare the Card Mat: Place the insert card on the Card Mat, ensuring it’s aligned.
- Cut the Design: Let the Cricut Joy work its magic!
- Assemble the Card: Add any additional embellishments or messages to complete your card. Trust me, the joy of giving a handmade card is unbeatable.
Iron-On T-Shirts
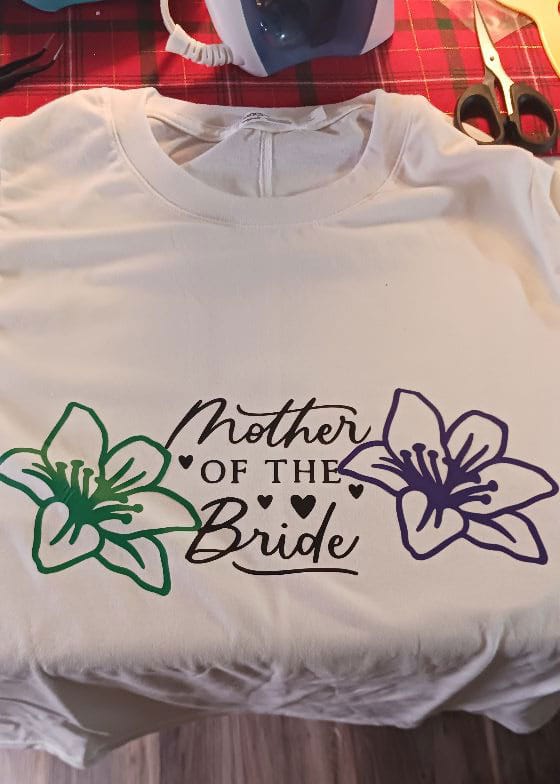
Creating custom t-shirts is another fantastic project with the Cricut Joy. Whether you want to make a unique gift or a fun outfit for a special event, this project is sure to impress.
Steps to Create Iron-On T-Shirts:
- Design Your T-Shirt: Use Cricut Design Space to create or select a design that speaks to you.
- Cut the Iron-On Vinyl: Load the Smart Iron-On into the Cricut Joy and watch it cut.
- Weed the Design: Remove excess vinyl, leaving just your design.
- Apply the Design: Use an iron or Cricut EasyPress to transfer the design onto your t-shirt. Wearing your creation is an incredible feeling!
Custom Labels
Organization enthusiasts will find joy in creating custom labels with the Cricut Joy. Whether for pantry jars or kids’ toys, you can transform your space with style.
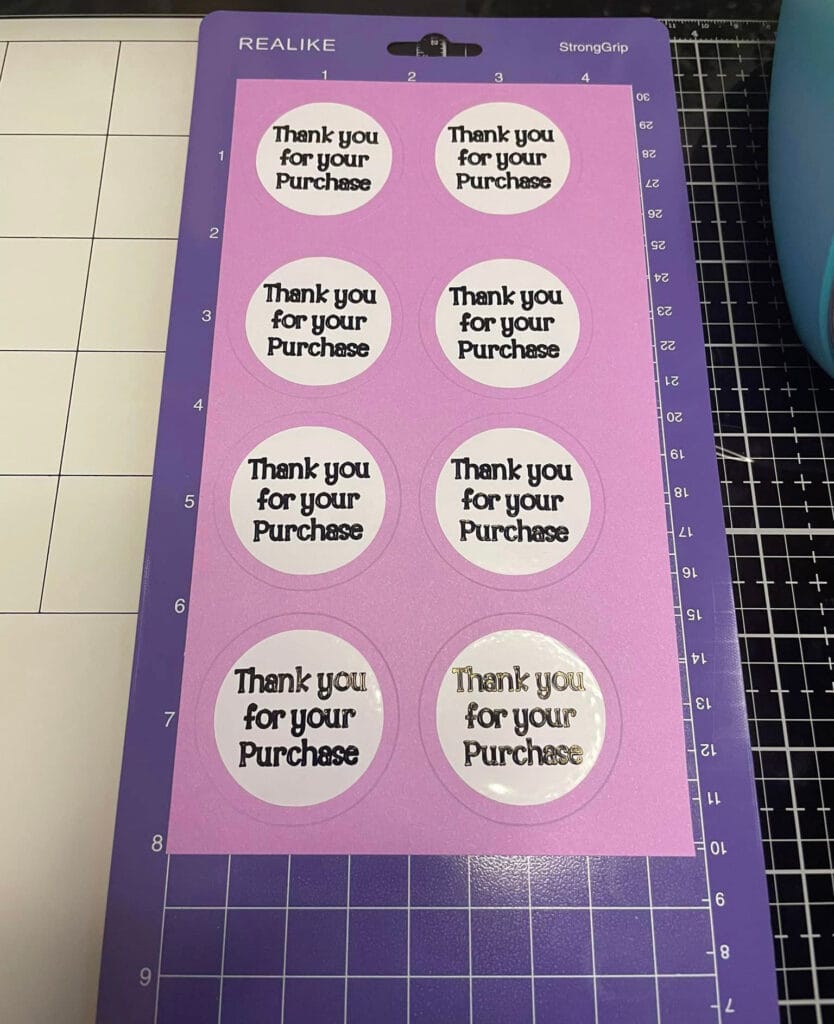
Steps to Create Custom Labels:
- Choose Your Label Design: Pick a design from Cricut Design Space that suits your needs.
- Cut the Vinyl: Load Smart Vinyl into the Cricut Joy and let it cut your labels.
- Weed the Labels: Remove excess vinyl around your labels carefully.
- Apply the Labels: Use transfer tape to place the labels on your desired items. The satisfaction of an organized space is worth it!
DIY Home Decor
With the Cricut Joy, you can create stunning home decor items like wall art, custom mugs, and decorative pillows. Each project allows you to infuse your personality into your space.
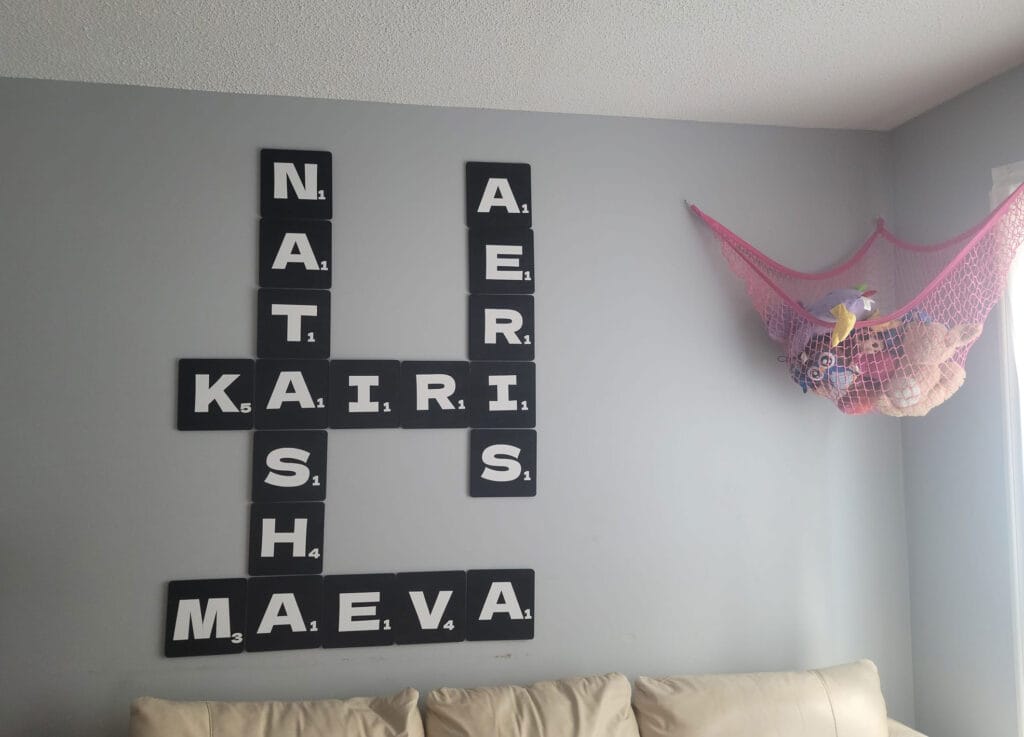
Steps to Create DIY Home Decor:
- Select Your Design: Find or create a design in Cricut Design Space that reflects your style.
- Cut the Material: Depending on the project, use Smart Vinyl, iron-on vinyl, or other materials.
- Assemble the Decor: Follow the appropriate steps to transfer or apply your design to your home decor item.
Cricut Joy Accessories Must-Have
Cricut Joy Software Compatibility
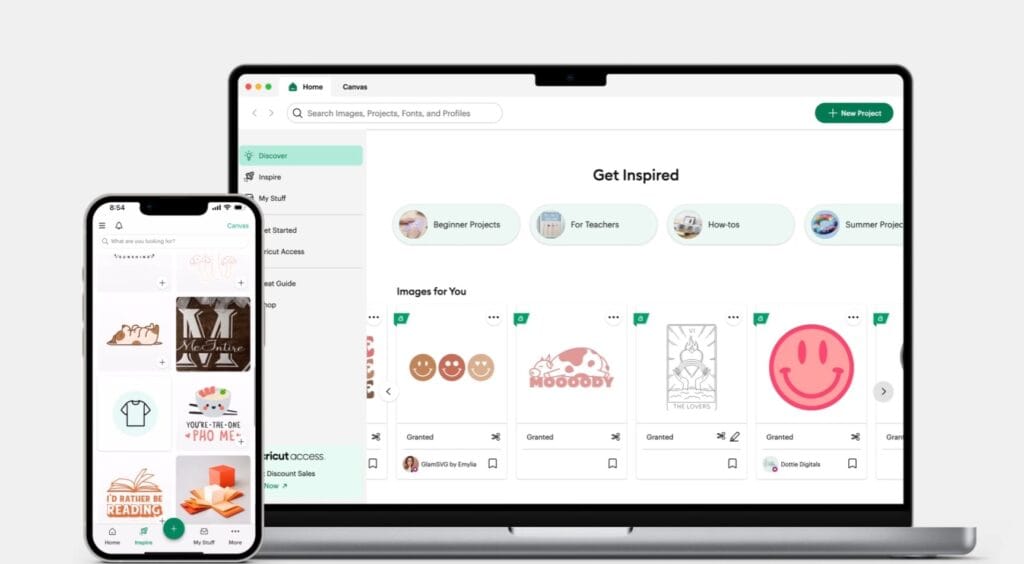
The Cricut Joy is fully compatible with Cricut Design Space, a powerful design software that is a staple for all Cricut machines. This intuitive platform is available on both desktop and mobile devices, allowing you to unleash your creativity anywhere.
Cricut Design Space
Cricut Design Space serves as the heart of your Cricut crafting journey. It’s a free, web-based application that enables you to create, customize, and send designs to your Cricut machine seamlessly.
Key Features:
- User-Friendly Interface: I remember when I first started using Cricut Design Space; it felt overwhelming at first. However, the layout is incredibly intuitive, making it easy for beginners to navigate. You can quickly find the tools you need, whether you’re uploading your own designs or selecting from the extensive library.
- Extensive Library: Imagine having thousands of images, fonts, and ready-to-make projects at your fingertips! While many designs are free, some are available for purchase, giving you a plethora of options to personalize your projects. When I was preparing for my sister’s wedding, I found the perfect template for custom wedding invitations that saved me hours of work.
- Customizable Projects: You have the freedom to modify existing projects or create your own from scratch. Upload your images and fonts, allowing for a unique touch in every project. For example, I once uploaded a handwritten quote for a wall decal, and it turned out beautifully!
- Cloud-Based: One of my favorite features is the ability to save projects in the cloud. You can access them from any device, which means you can work on designs at home and finalize them on the go. I’ve often found myself sketching ideas during my morning commute, only to polish them off later at my desktop.
Compatibility
- Desktop: Cricut Design Space is compatible with both Windows and Mac computers. Ensure your system meets the minimum requirements for smooth operation. This flexibility means you can use whichever device you’re most comfortable with.
- Mobile: If you’re like me and love crafting on the move, the Cricut Design Space app for iOS and Android devices is a game-changer. The app allows you to design on the go and wirelessly send projects to your Cricut Joy, making it perfect for quick crafting sessions.
Cricut Joy App
For those who prefer a more streamlined experience, the Cricut Joy app is tailored specifically for the Cricut Joy machine. It simplifies the design process, focusing on quick and easy projects.
Key Features:
- Quick Projects: This app is perfect when you need something done in a hurry. You can choose from a variety of pre-designed projects that can be completed in 15 minutes or less. Once, I used the app to whip up a last-minute birthday card that impressed my friend!
- Smart Labels: The Smart Label feature allows you to design and print labels effortlessly. I used this feature to organize my pantry, and it transformed my cluttered shelves into a neatly arranged haven.
- Bluetooth Connectivity: This wireless functionality is a fantastic addition. You can connect your Cricut Joy to the app via Bluetooth, which makes crafting a breeze without being tethered to your computer.
Third-Party Software
While Cricut Design Space and the Cricut Joy app are the primary software options, several third-party programs can elevate your Cricut Joy experience.
Adobe Illustrator
Adobe Illustrator is a powerhouse for creating intricate vector designs. If you’re looking to take your crafting to the next level, this is the software for you.
Key Features:
- Advanced Design Tools: With Illustrator, you can create detailed vector graphics with precision, allowing for complex designs that can be imported into Design Space.
- File Compatibility: You can easily export your designs as SVG files, ensuring compatibility with Cricut Design Space. I often create intricate floral patterns for card making using Illustrator before sending them to my Cricut Joy.
- Customization: The level of control you have over your designs is phenomenal, making it a favorite among professional crafters.
Inkscape
If you’re looking for a free alternative to Adobe Illustrator, Inkscape is a fantastic choice.
Key Features:
- Vector Design: Inkscape allows you to create and edit vector graphics easily, which is essential for Cricut projects.
- File Export: Just like Illustrator, you can save your designs as SVG files for use in Cricut Design Space.
- Community Support: With a wealth of tutorials and community resources available, you can easily find help and inspiration. When I first started using Inkscape, I relied heavily on online tutorials to learn the ropes.
Cricut Joy Maintenance Tips
Taking care of your Cricut Joy is essential for ensuring its longevity and optimal performance. Regular maintenance can prevent common issues and keep your machine running smoothly. Here are some practical tips that I’ve found helpful over the years:
Regular Cleaning
Exterior Cleaning:
- Dust and Debris: Wipe the exterior of your Cricut Joy regularly with a soft, dry cloth. This simple step helps remove dust and keeps your machine looking new. I make it a habit to clean mine every week, especially after intense crafting sessions.
- Button and Screen: Gently clean the control buttons and screen with a microfiber cloth. This helps keep your machine free of fingerprints and smudges, ensuring a clear view while you work.
Interior Cleaning:
- Cutting Mat Residue: Over time, adhesive residue can accumulate on your cutting mats. Use a lint roller or adhesive remover to clean them. I learned this the hard way after noticing my cuts weren’t as clean. A quick cleanup made a world of difference!
- Blade Housing: Occasionally check the blade housing for any trapped debris. Using a small brush or compressed air can help you keep everything tidy without damaging the blade.
Blade Maintenance
Blade Replacement:
- Frequency: You’ll know it’s time to replace the blade when you notice a decline in cutting performance. I usually keep a couple of extra blades on hand, as they can wear out quicker than you’d expect, especially when cutting thicker materials.
- Proper Handling: Always cap the blade when not in use to protect it from accidental damage. I’ve had a few close calls with dull blades, and it’s not a fun experience!
Blade Cleaning:
- Cleaning the Blade: Occasionally remove the blade and clean it with a soft cloth to remove any adhesive residue or particles. This small act can significantly maintain its sharpness and precision.
Cutting Mat Care
Mat Cleaning:
- Adhesive Layer: Regularly clean your cutting mat to maintain its stickiness. Use a scraper for large debris and a lint roller for finer particles. I remember how a clean mat improved my cutting accuracy significantly!
- Washing the Mat: For a deeper clean, wash the mat with warm, soapy water. Gently scrub with a soft brush, rinse thoroughly, and let it air dry. I usually wash my mats every few months to keep them in top shape.
Mat Storage:
- Flat Storage: Always store your cutting mats flat to prevent warping. If space is tight, hang them vertically using the built-in holes. I’ve found that this significantly extends the life of my mats.
- Protective Covers: Keeping the protective covers on your mats when not in use can prevent dust accumulation and preserve the adhesive.
Software Updates
Cricut Design Space:
- Regular Updates: Ensure your Cricut Design Space software is always up to date. Updates can introduce new features and improve performance. I make it a habit to check for updates every month to take advantage of the latest improvements.
- Connection Check: Always verify that your machine is properly connected to your device via Bluetooth or USB. This simple check can save you a lot of frustration during your crafting sessions.
Proper Storage
Storage Conditions:
- Temperature and Humidity: Store your Cricut Joy in a cool, dry place to prevent damage from extreme temperatures or humidity. I keep mine in a dedicated crafting corner where it’s shielded from direct sunlight.
- Cover the Machine: When not in use, cover your machine with a dust cover. This protects it from dust and potential spills. I’ve learned the hard way that a little prevention can go a long way!
General Handling
Handling Materials:
- Material Loading: Always load materials carefully onto the cutting mat to ensure proper alignment. Following the guidelines in Cricut Design Space can help prevent jams. I remember rushing once and regretting it when my project didn’t turn out as planned!
- Avoid Overloading: Make sure not to cut overly thick or unsuitable materials that can strain the motor and blade. I always double-check the material settings before cutting, especially for new materials.
Professional Servicing
Warranty and Repairs:
- Familiarize yourself with the warranty terms of your Cricut Joy. If you encounter significant issues, don’t hesitate to contact Cricut support for assistance. I had to reach out once, and their customer service was incredibly helpful!
- Periodic Professional Maintenance: If you notice any unusual sounds or performance issues, consider scheduling professional maintenance. This can help identify potential problems before they escalate, preserving your machine’s functionality.
Conclusion
The Cricut Joy truly shines as a versatile crafting companion, making it easy for anyone to dive into creative projects. I hope this guide has inspired you to explore all the amazing things you can create! I’d love to hear your experiences—what have you made with your Cricut Joy? Drop a comment below and share your thoughts! If you found this article useful, please share it with your friends and don’t forget to check out more exciting content on our website. Happy crafting!

